A central issue when interpreting plots is to have a consistent color coding among all plots. In MTEX this can be achieved in two ways. If the the minimum and maximum value are known then one can specify the color range directly using the options 'colorrange' or 'contourf', or the command setColorRange is used which allows to set the color range afterwards.
A sample ODFs and Simulated Pole Figure Data
Let us first define some model ODFs to be plotted later on.
cs = crystalSymmetry('-3m');
odf = fibreODF(Miller(1,1,0,cs),zvector)
pf = calcPoleFigure(odf,[Miller(1,0,0,cs),Miller(1,1,1,cs)],...
  equispacedS2Grid('points',500,'antipodal'));
odf = SO3FunCBF (-3m1 → y↑→x)
kernel: de la Vallee Poussin, halfwidth 10°
fibre : (11-20) || 0,0,1
weight: 1Tight Colorcoding
When plot is called without any colorcoding option, the plots are constructed using the option 'tight' to the range of the data independently from the other plots. This means that different pole figures may have different color coding and in principle cannot be compared to each other.
close all
plot(pf)
mtexColorbar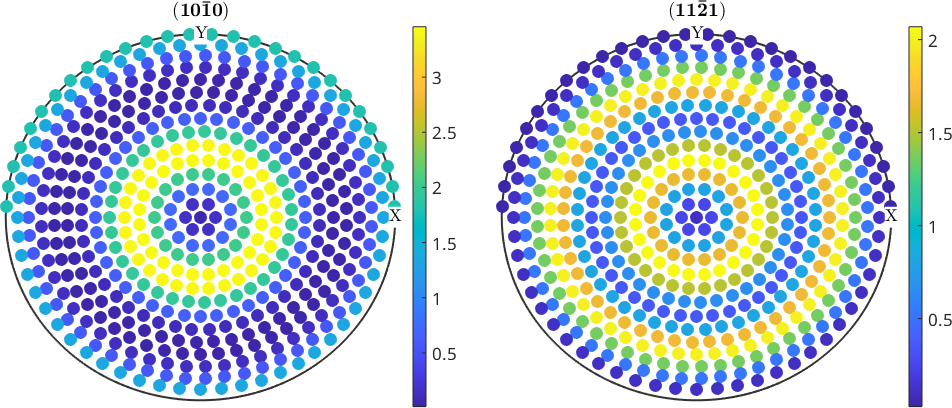
Equal Colorcoding
The 'tight' colorcoding can make the reading and comparison of two pole figures a bit hard. If you want to have one colorcoding for all plots within one figure set the option 'colorrange' to 'equal'.
plot(pf,'colorRange','equal')
mtexColorbar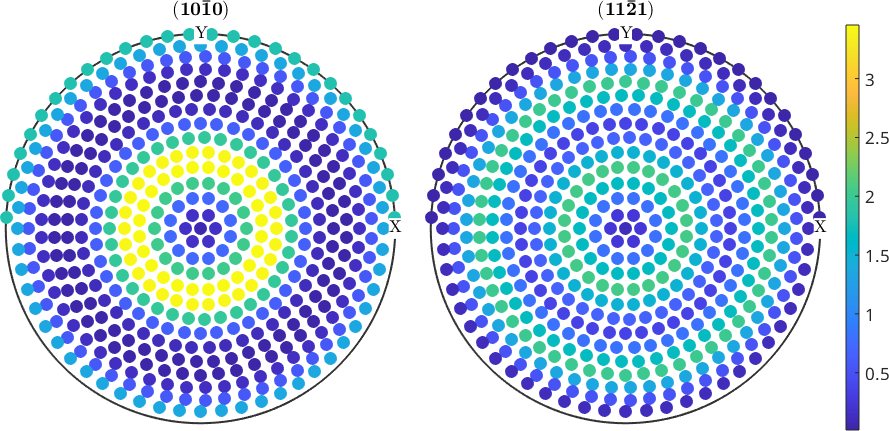
Setting an Explicite Colorrange
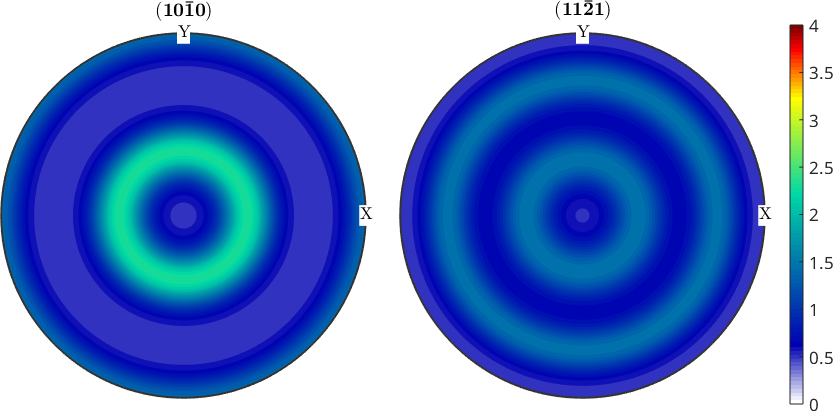
If you want to have a unified colorcoding for several figures you can set the colorrange directly in the plot command
close all
plotPDF(odf,[Miller(1,0,0,cs),Miller(1,1,1,cs)],...
  'colorrange',[0 4],'antipodal');
mtexColorbar

figure
plotPDF(.5*odf+.5*uniformODF(cs),[Miller(1,0,0,cs),Miller(1,1,1,cs)],...
  'colorrange',[0 4],'antipodal');
mtexColorbar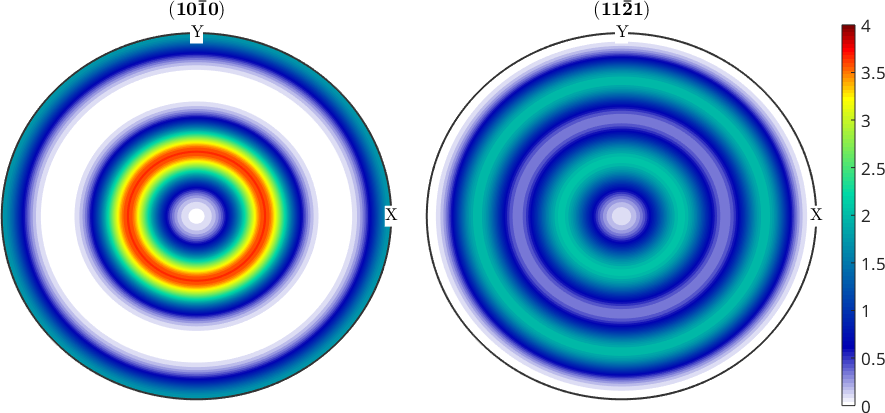
Setting the Contour Levels
In the case of contour plots you can also specify the contour levels directly
close all
plotPDF(odf,[Miller(1,0,0,cs),Miller(1,1,1,cs)],...
  'contourf',0:1:5,'antipodal')
mtexColorbar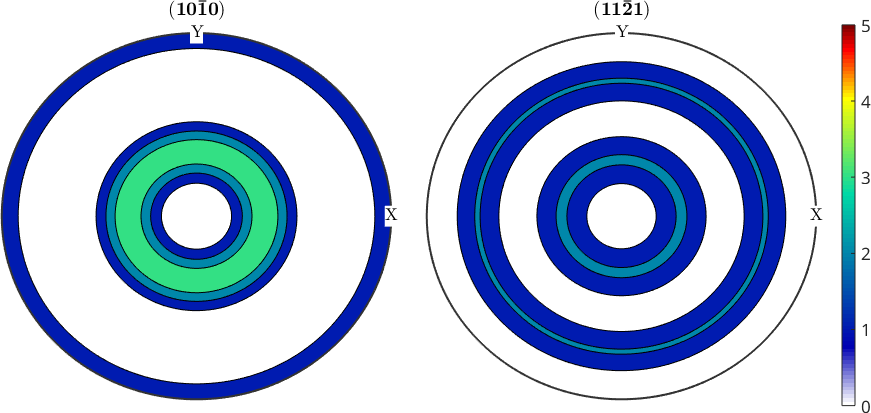
Modifying the Colorrange After Plotting
The color range of the figures can also be adjusted afterwards using the command setColorRange
setColorRange([0.38,3.9])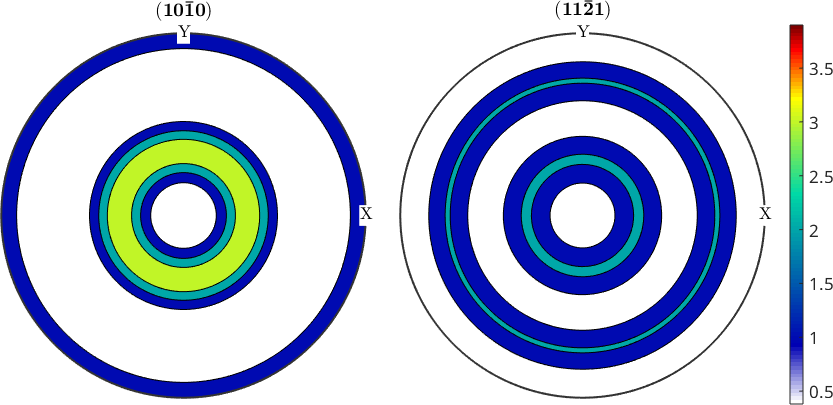
Logarithmic Plots
Sometimes logarithmic scaled plots are of interest. For this case all plots commands in MTEX understand the option 'logarithmic', e.g.
close all;
plotPDF(odf,[Miller(1,0,0,cs),Miller(1,1,1,cs)],'antipodal','logarithmic')
setColorRange([0.01 12]);
mtexColorbar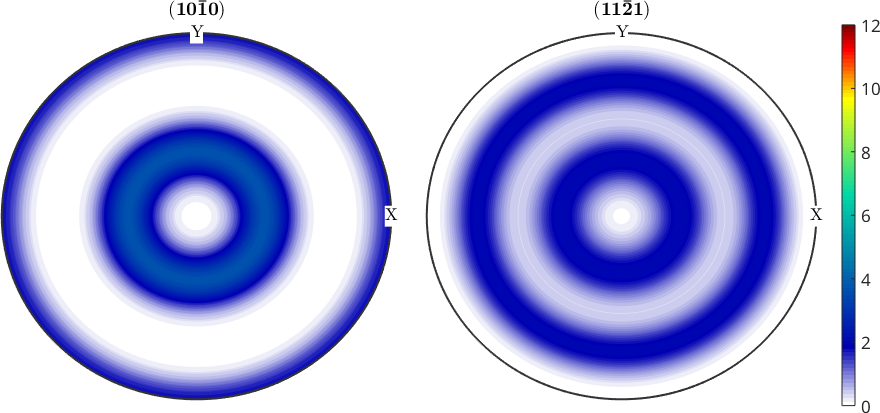
Changing the Colormap
The colormap can be changed by the command mtexColorMap, e.g., in order to set a white to black colormap one has the commands
plotPDF(odf,[Miller(1,0,0,cs),Miller(1,1,1,cs)],'antipodal')
mtexColorMap white2black
mtexColorbar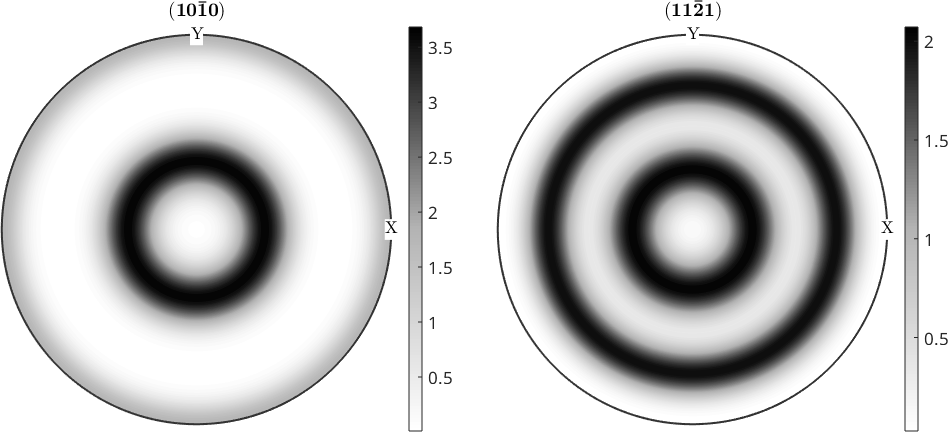
Multiple Colormaps
One can even use different colormaps within one figure
% initialize an MTEX-figure
mtexFig = newMtexFigure;

% for three different colormaps
for cm = {'hot', 'cool', 'parula'}

  % generate a new axis
  nextAxis

  % plot some random data in different axis
  plot(vector3d.rand(100),'smooth','grid','grid_res',90*degree,'upper');

  % and apply an individual colormap
  mtexColorMap(mtexFig.gca,char(cm))

  % set the title to be the name of the colormap
  mtexTitle(char(cm))
end

% plot a colorbar for each plot
mtexColorbar